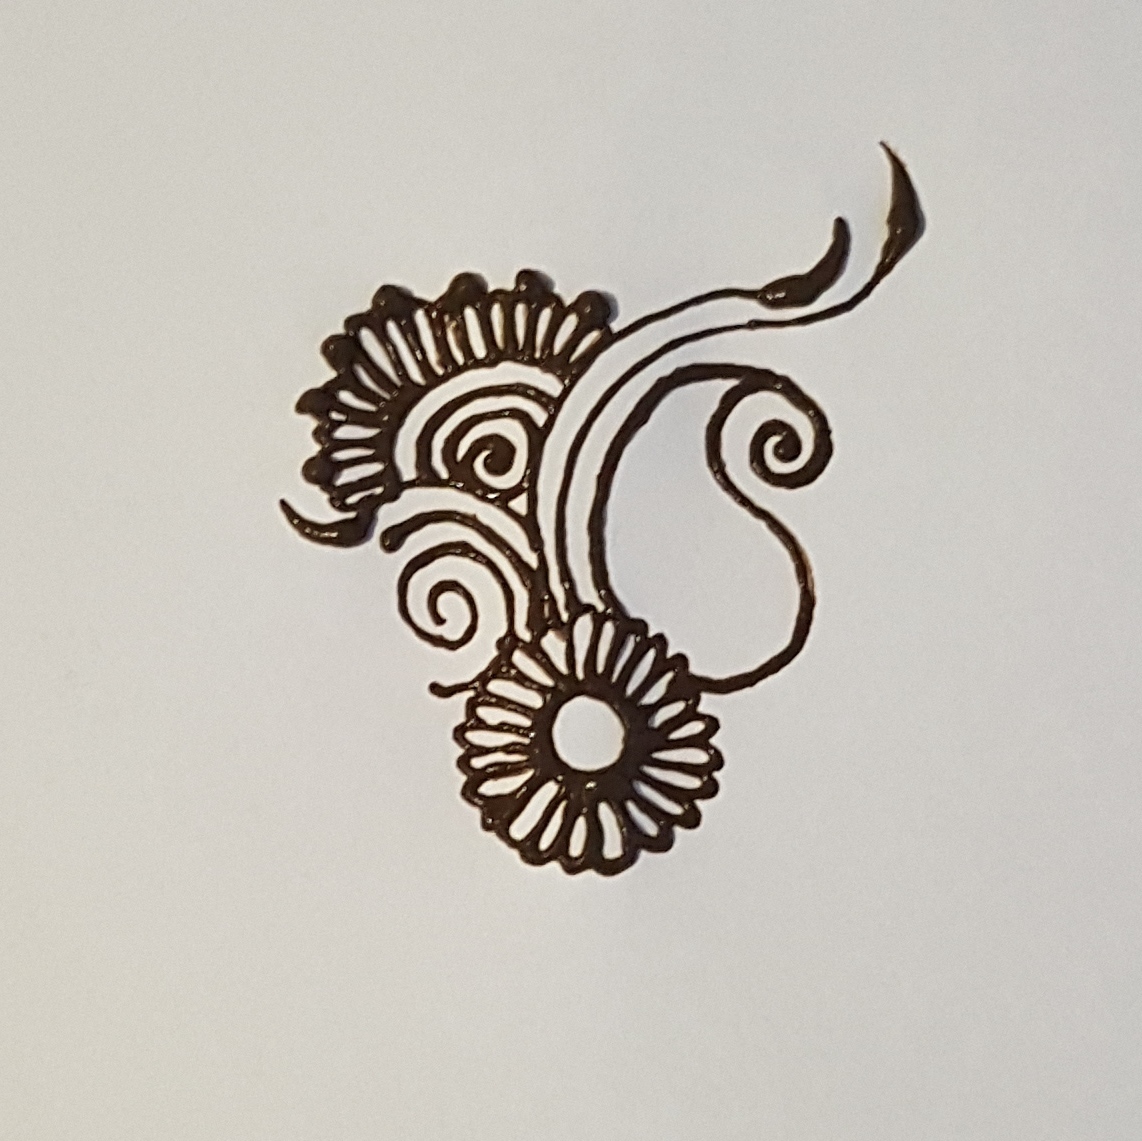
Step 1
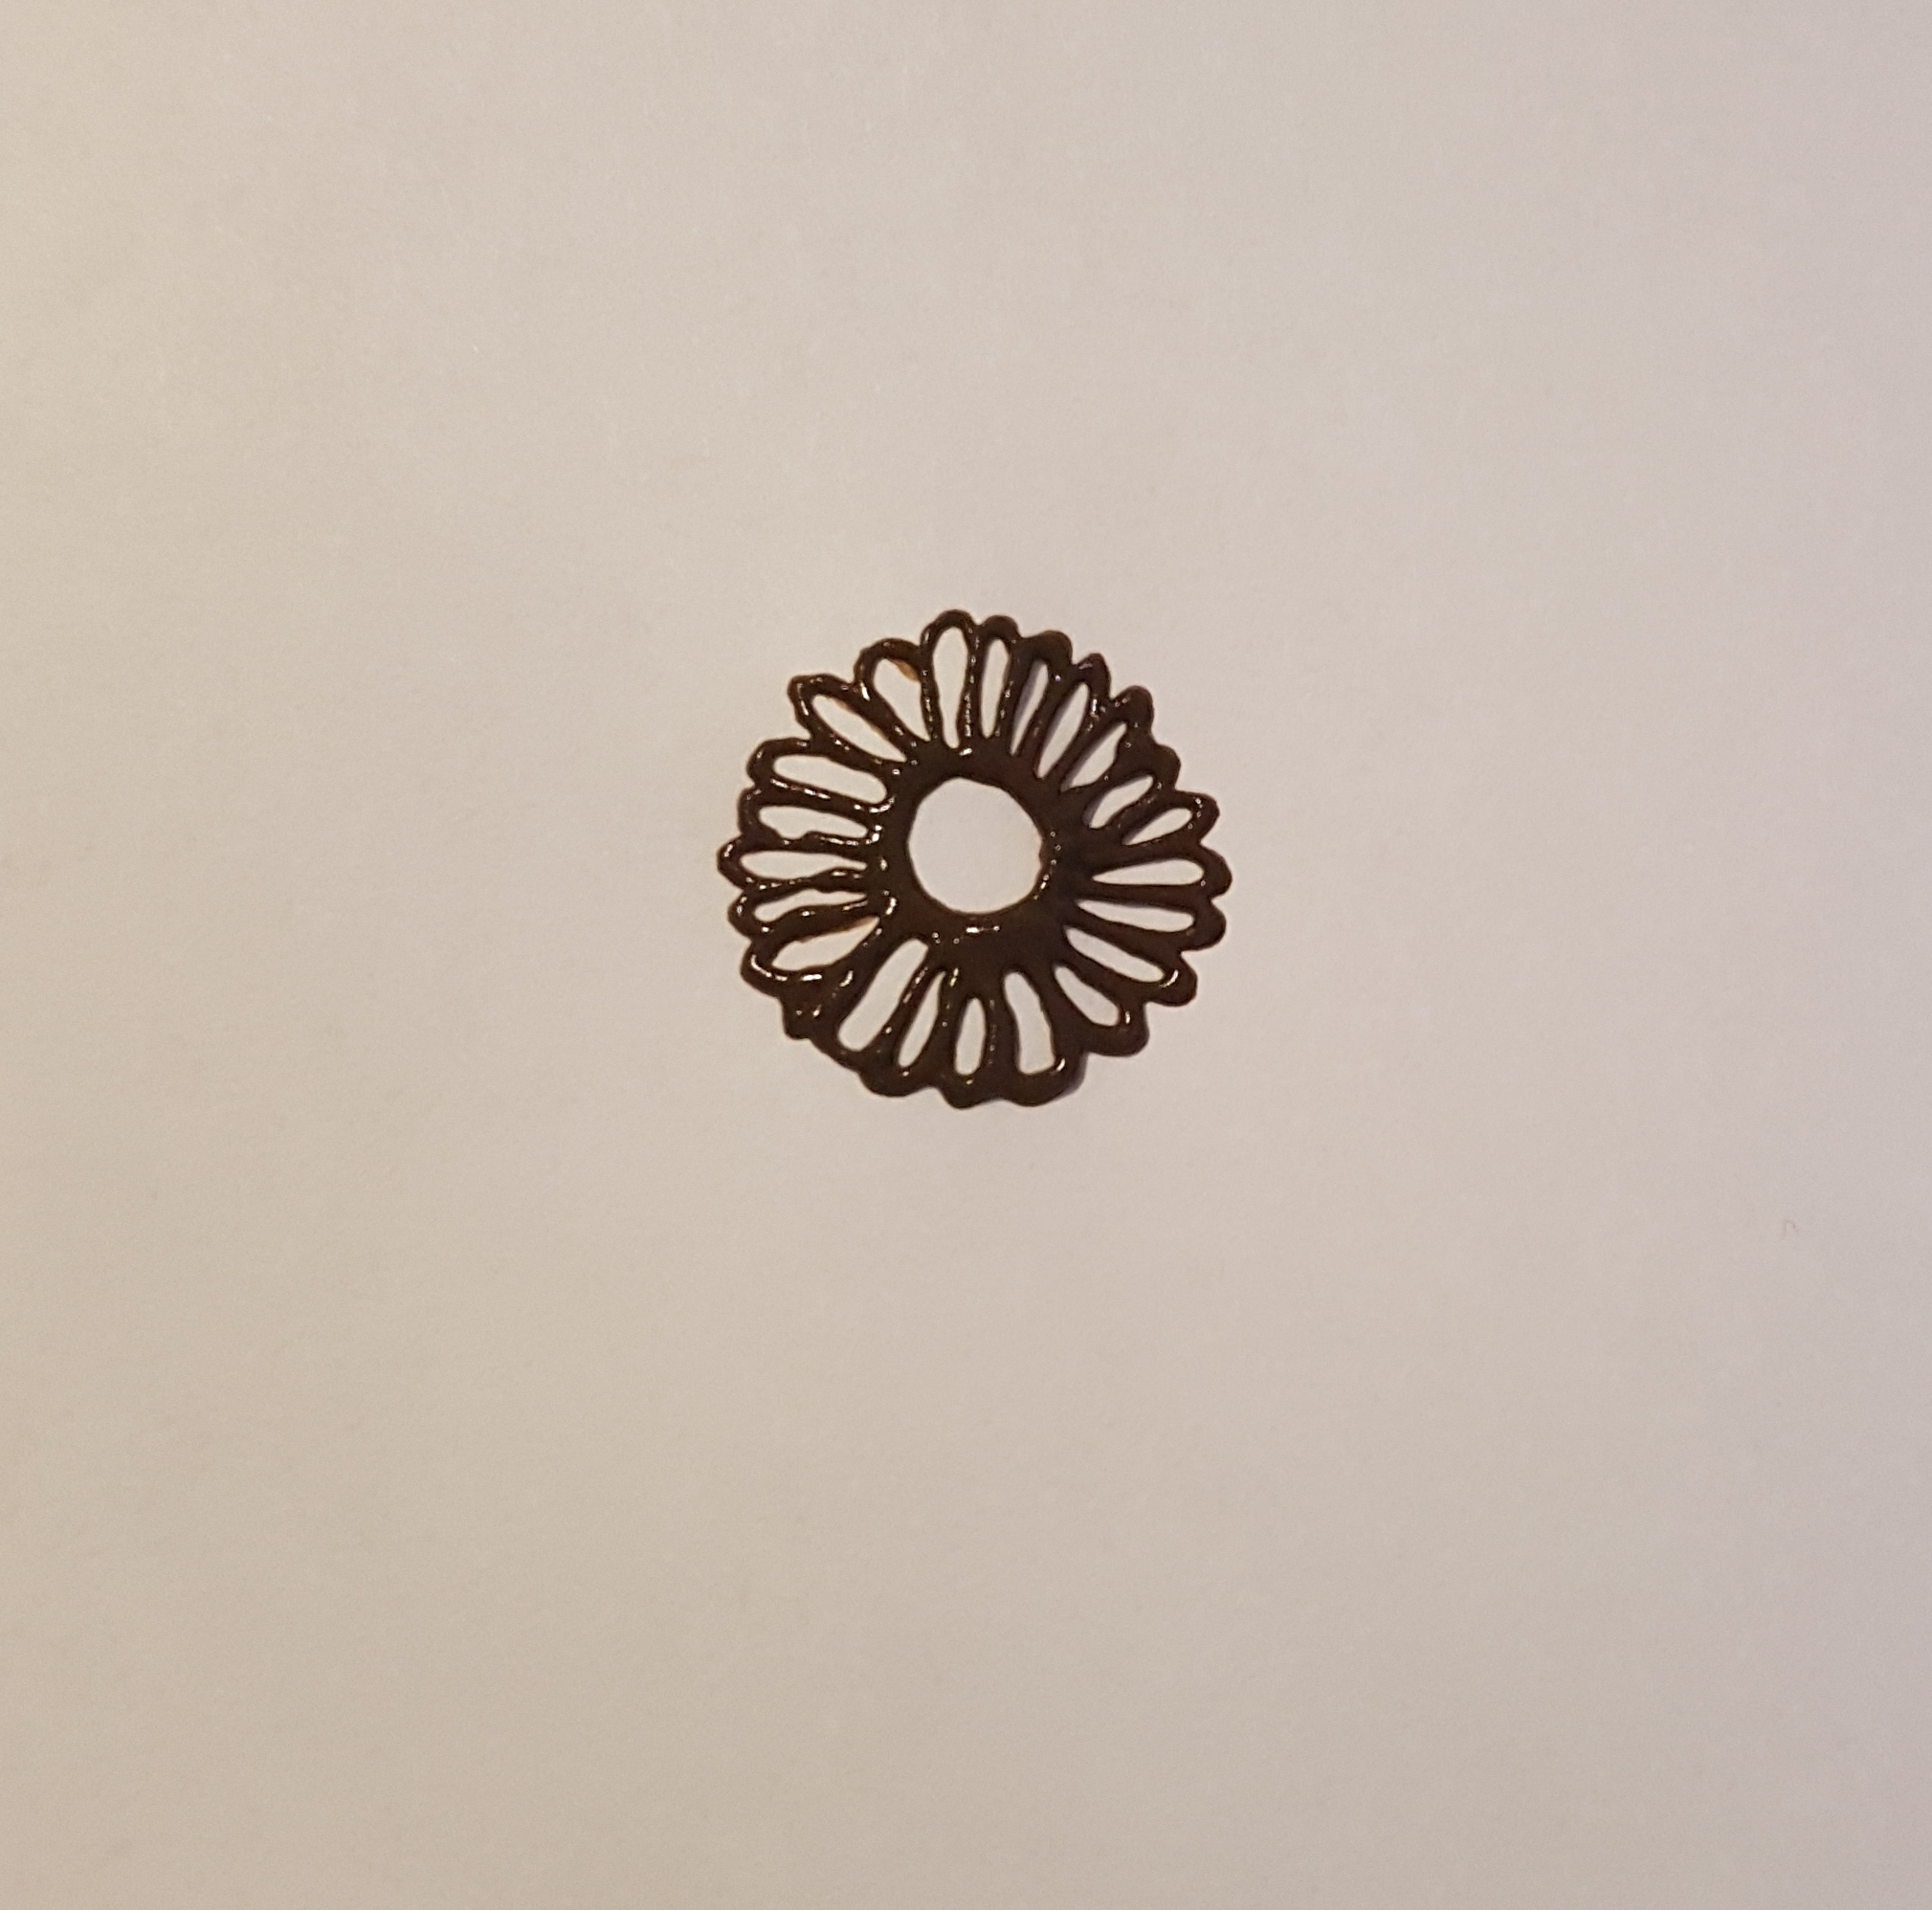
The simplest way to start off is with a flower. Yes, it's that easy! Once you've completed this, you could add different shapes to continue the design as shown in step 2.
Step 2
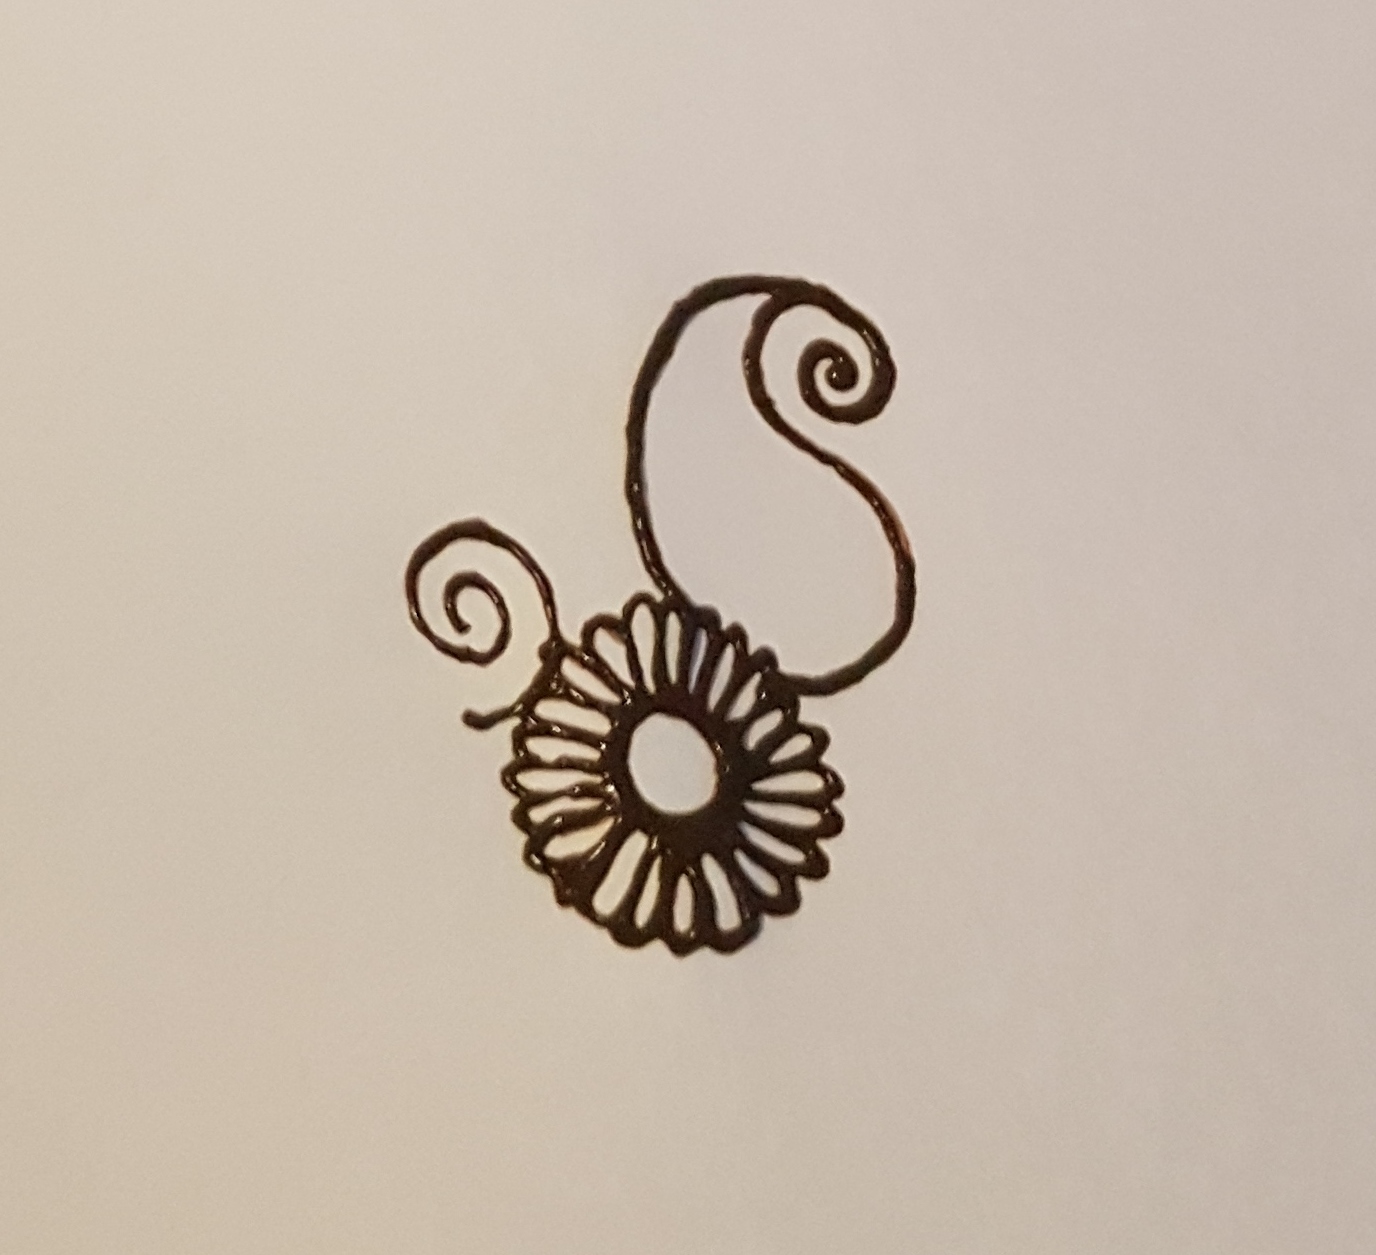
So you can continue with a swirl or the other shape on the right which is also referred to as the "Mango Shape".
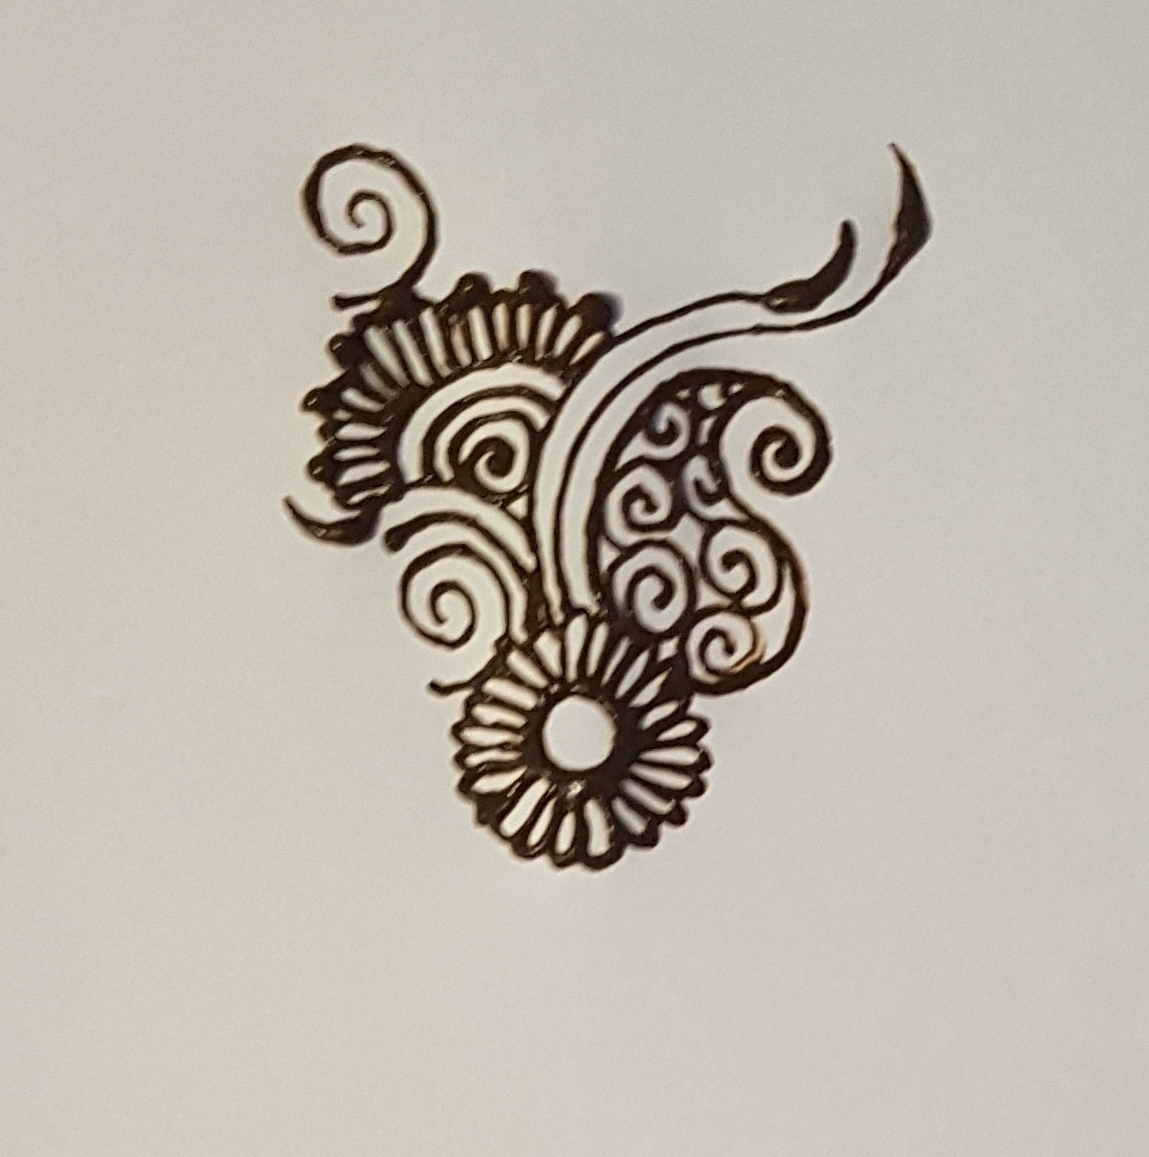
Step 3
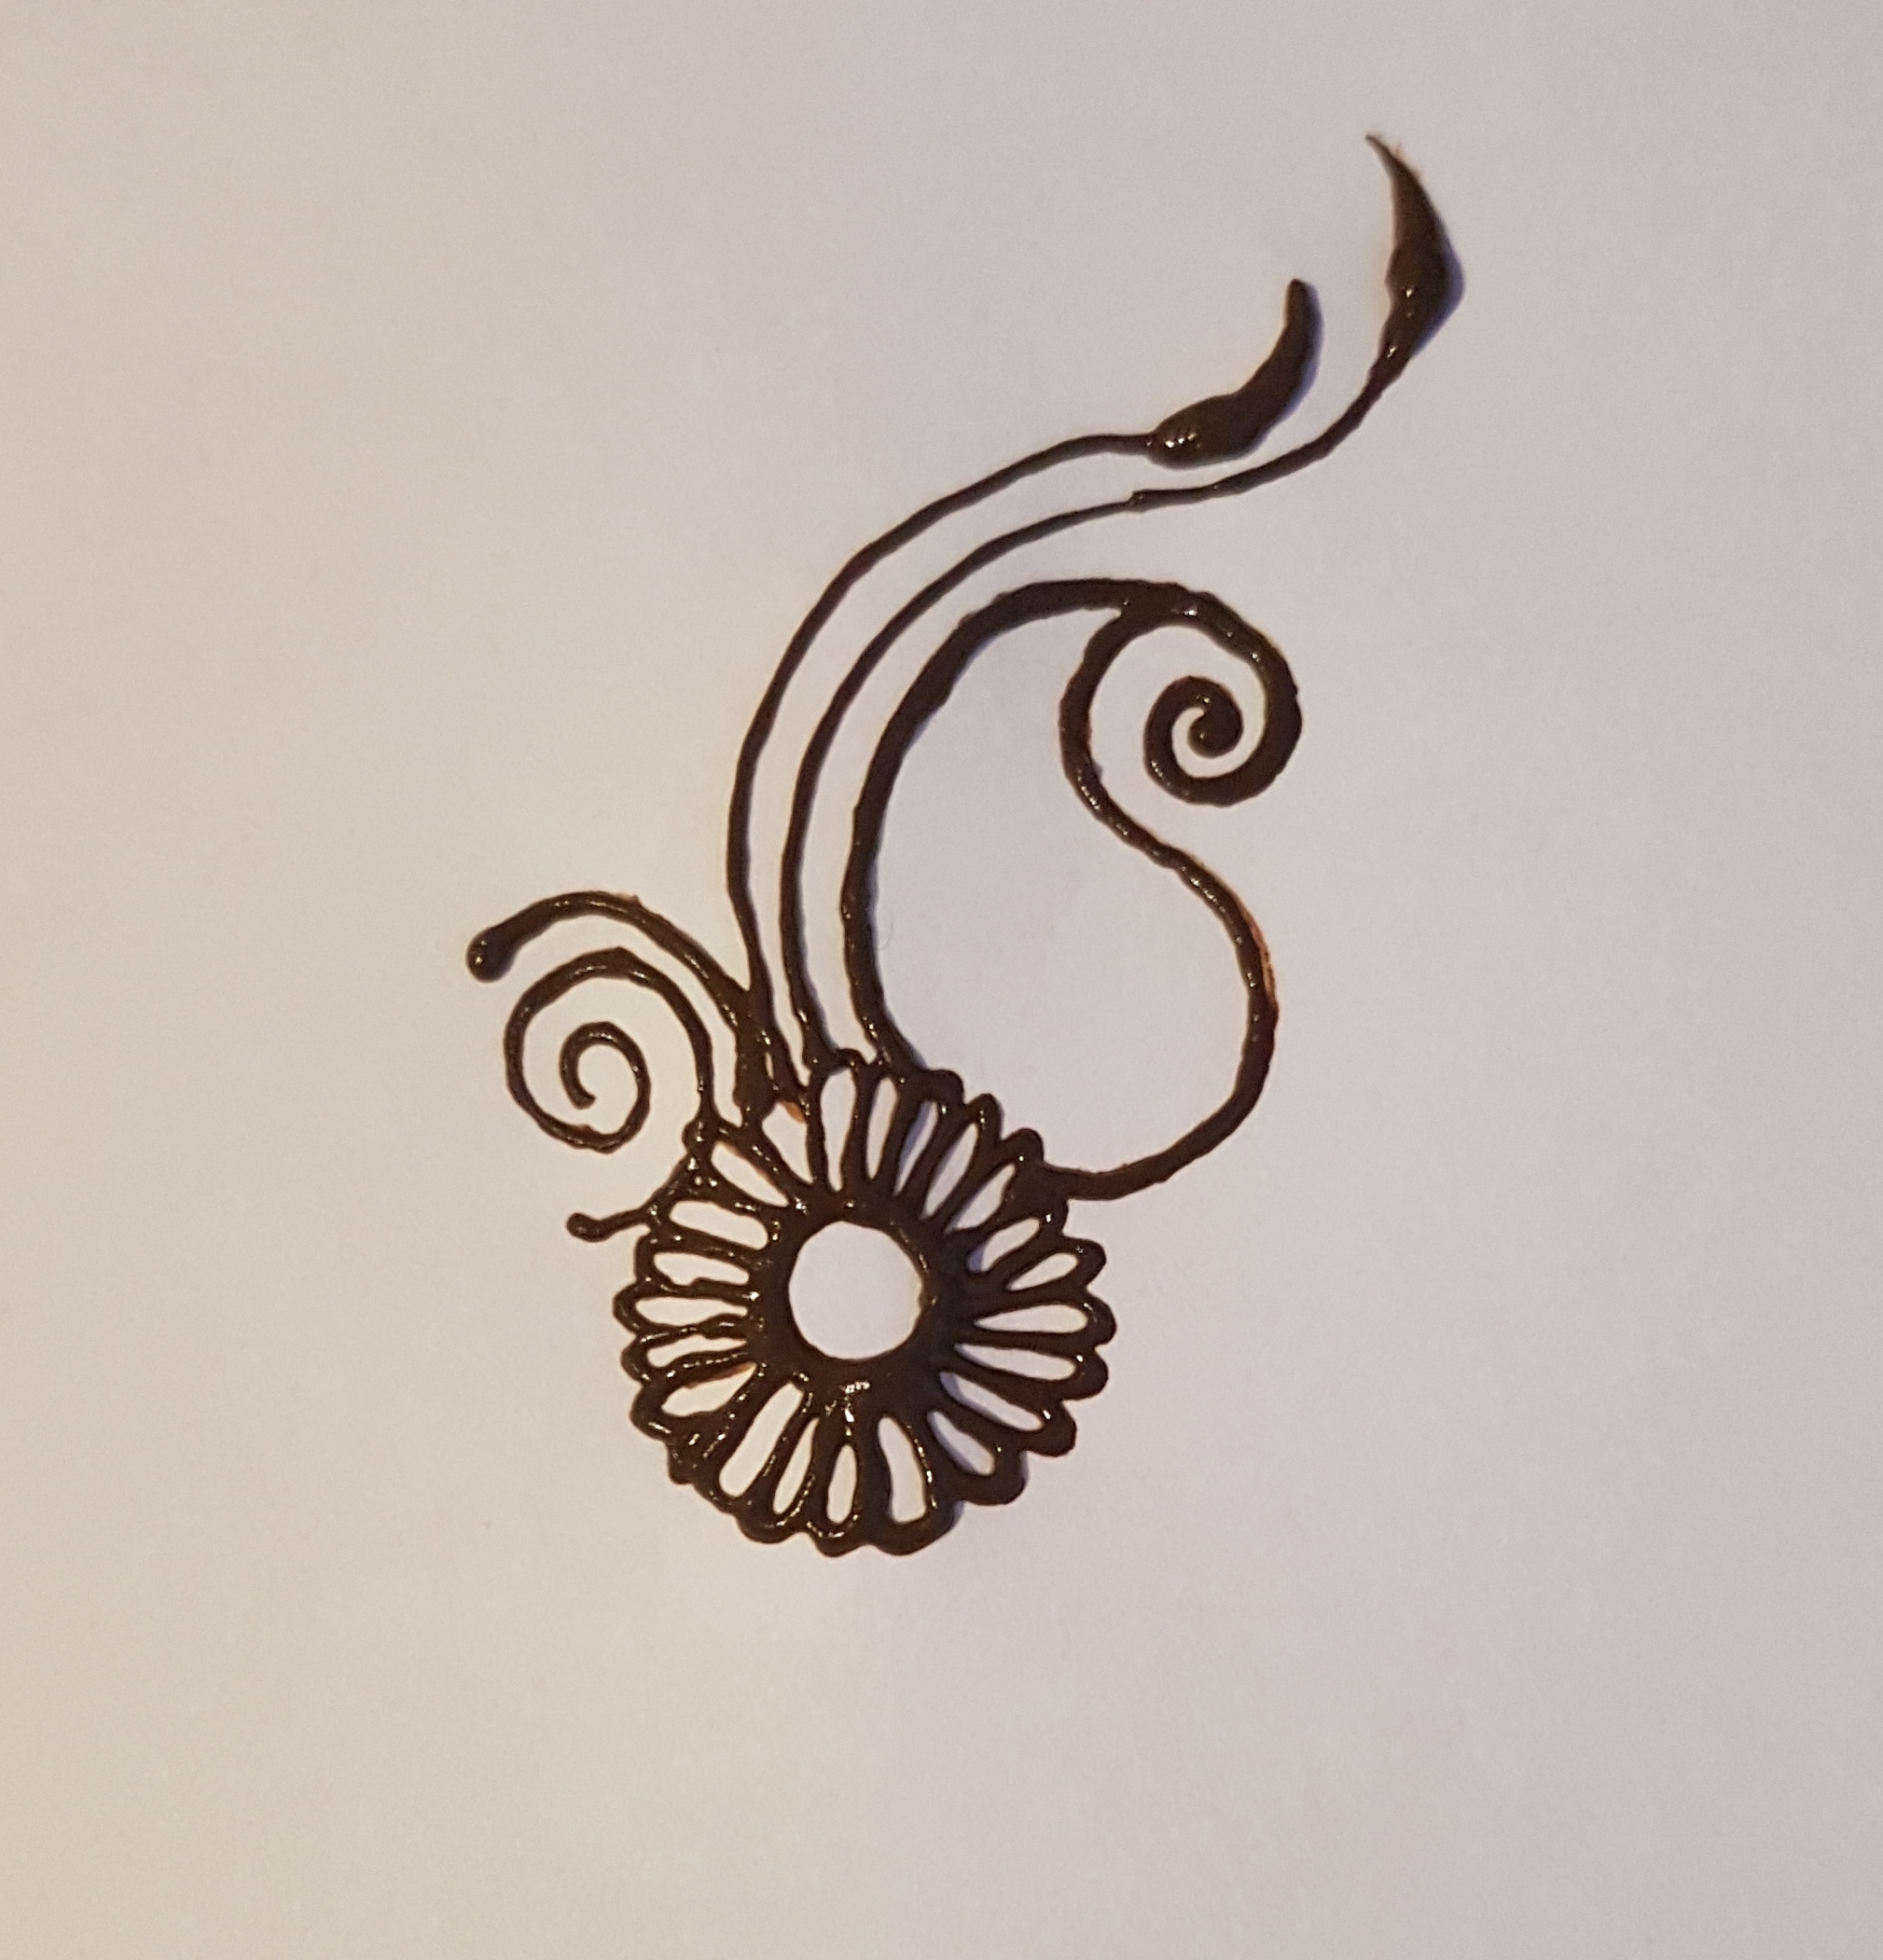
Time to add some lines to support your shapes.
Step 4
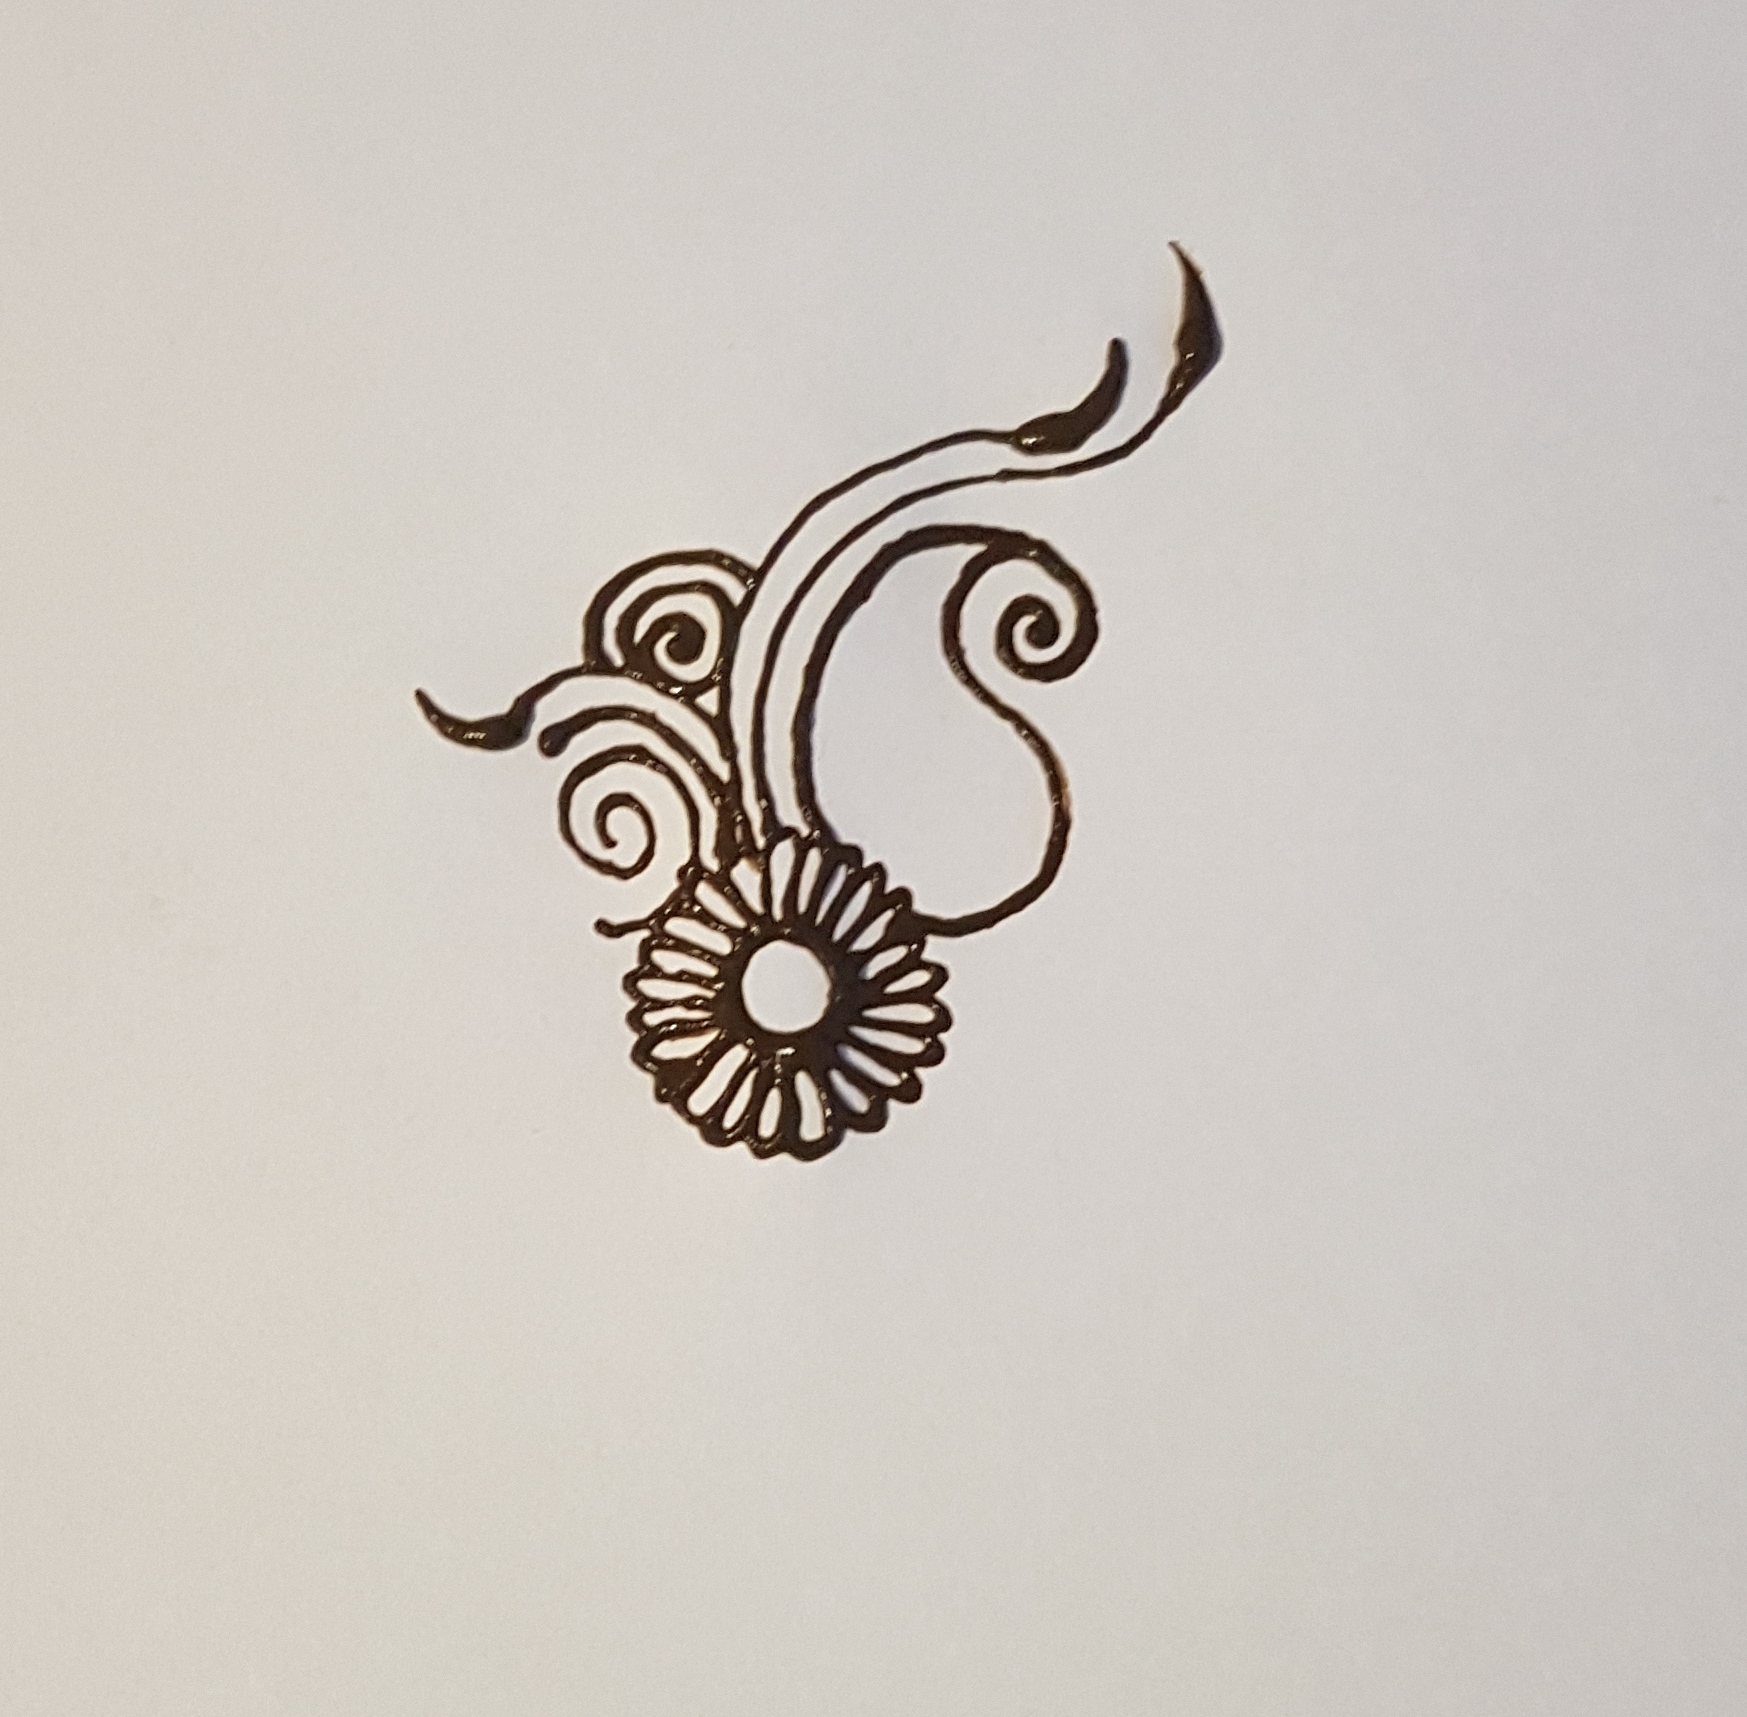
Now that you have added your lines, you have come to a meeting point to make a v shape. This is where your lines meet.
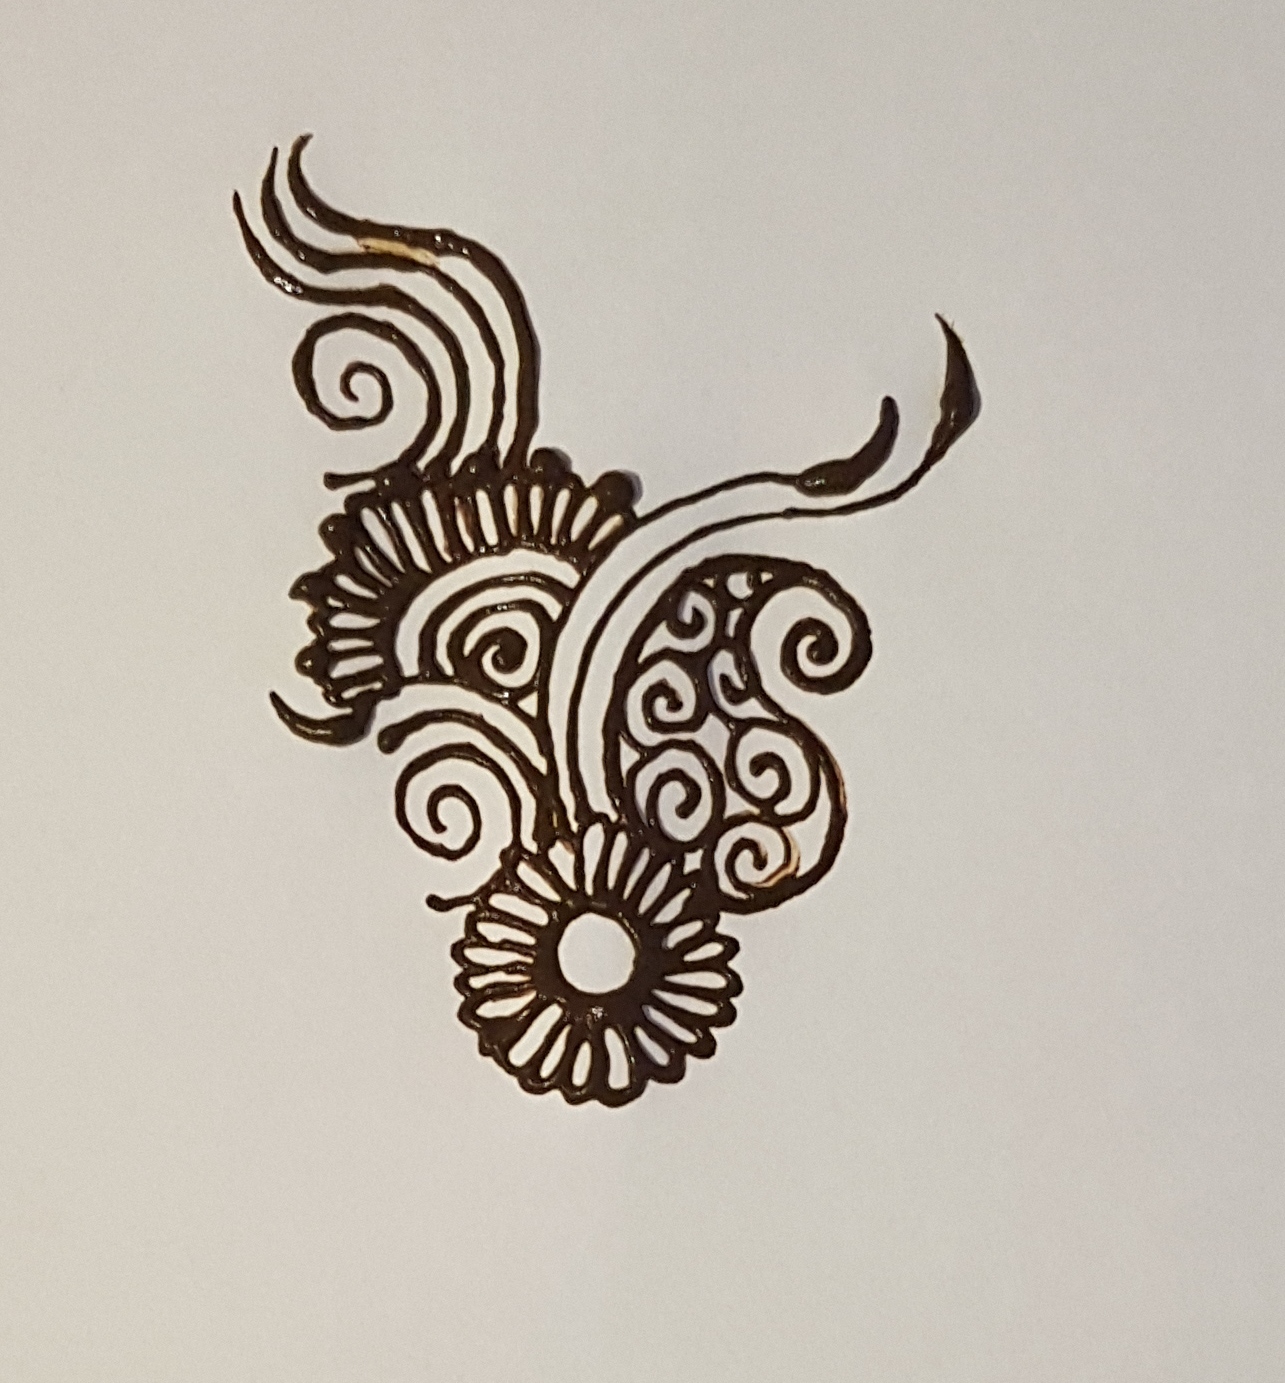
Step 5
And this is a perfect opportunity to make another flower.
Step 6
Now you've come to a tricky situation. There is no v sections, but there is a flower! On this flower you have so many options to continue with. You could use another swirl or a mango shape. The choice is yours!
Step 7
Support your shape with some lines.
Step 8
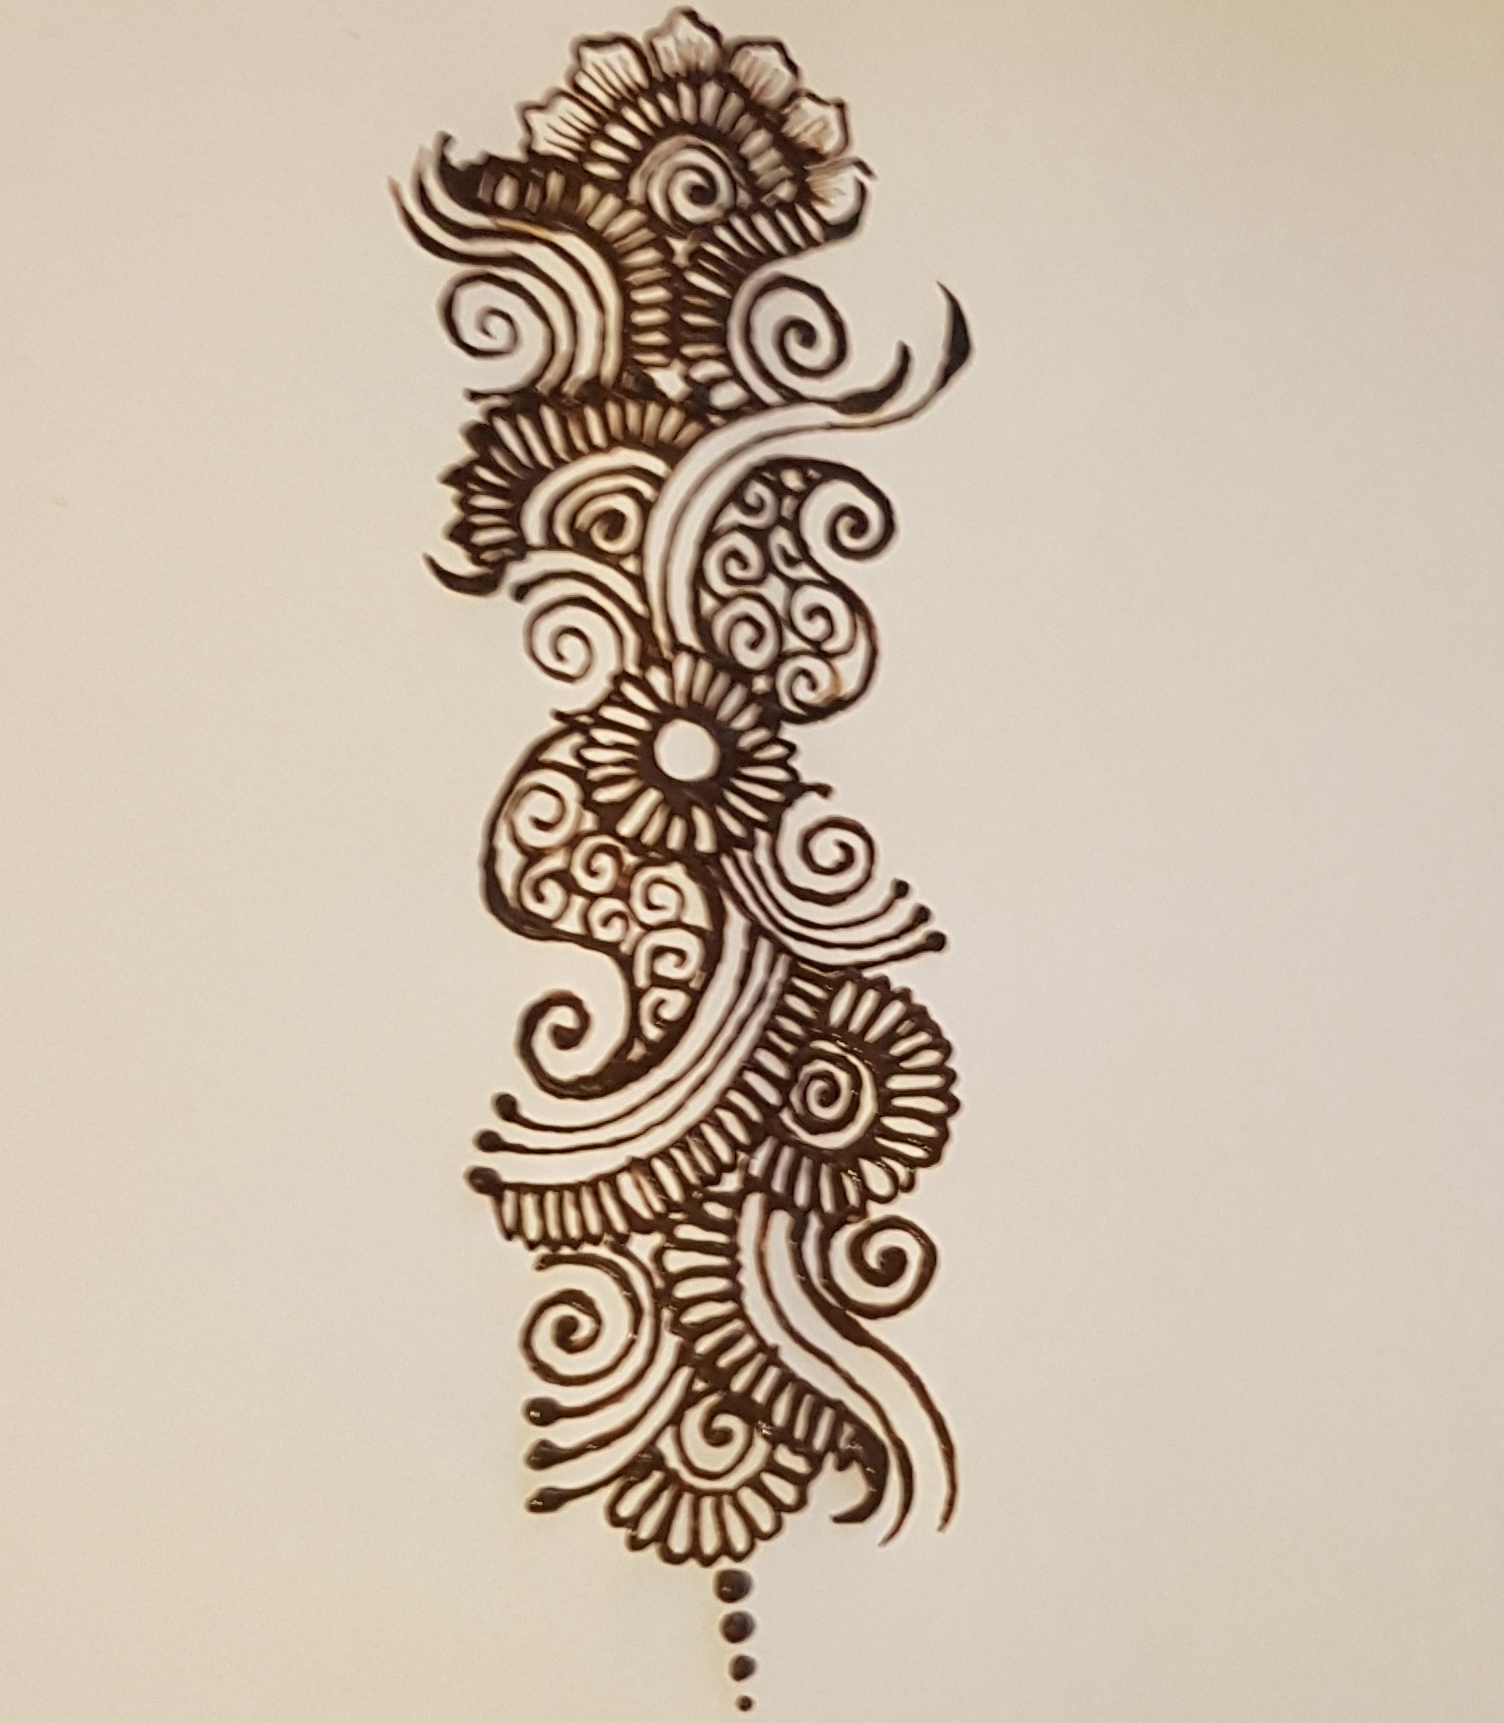
Essentially, you continue your design with this trick... Watch out for the V shapes! Its the perfect opportunity to make a flower and make your design flowery.